
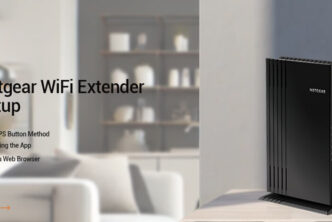
In this article, we will discuss the steps to setup the WN3500RP extender by login to the configuration page. You will use Netgear Extender Login page to open the configuration settings. But before that, if you are new and do not know what is this extender, then let me give you an idea about extenders. The extenders are the boosters used to extend the wireless signal already existing in your area to the area where there is less or no range called the dead zones. The extenders make your life easy as they are providing you the internet access where you want and your router’s signal is not capable of reaching to that area.
It is recommended by the Netgear Company, you should place your Netgear extender and the router into the same room. This is to be done to setup the connection between both, the router and the extender. After the successful connection, you can place your extender where you want but it should be in the range of your wireless router.

How to setup Netgear WN3500RP extender?
Follow the steps given below to perform the same:
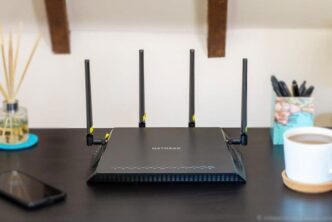
- Switch on your extender by enabling the on/off button. Verify the on position by checking LED status light on the front of the extender. It will turn green.
- Press the network icon in the notification area. You can now see a number of networks. Select your extender network that has a network name (SSID) NETGEAR_EXT. This is the default network name of any Netgear extender.
- Launch an Internet browser from the same device on which you are connected to the network of the extender. If this is the first time you are installing the extender then it automatically opens the Netgear Genie to setup the extender. Otherwise, if you are accessing it after setup then you have to type www.mywifiext.net in the address bar field of the browser. A Netgear Extender Login page appears after you hit the enter key.
- Netgear Genie automatically starts checking for the existing networks within the range of the extender. And after scanning shows you a list of available networks. Select the network name of your wireless network from the list and click on continue button to proceed.
- Then it asks you to enter the password of your wireless network. Enter the same and click on continue. If you are unable to see your wireless network name then make sure the extender is within the range of wireless router.
- Select the 5 GHz band if your router also supports the same. Otherwise, select the radio button before “My router does not support 5 GHz band” and click continue to proceed.
- It begins the setup process now. And asks you if you want to change the settings of the extender. Now it’s up to you if you want or not. If you want to do the changes afterward then click on continue. You can configure the settings later by login to the management page through Netgear Extender Login.
- A screen appears showing the message on the top “You are now one step away from completing the installation”. And you will automatically get disconnected from the wireless network of your extender.
- Now from your device, connect to the wireless network of the extender.
- Check the successful establishment of the connection by going into the “My wireless devices are connected to the Extender Network” option in the Netgear Genie.
- If you see a page having title “Congratulation, The extender has successfully connected to your existing network” then the extender is successfully installed. Click Finish button to end the setup process.


Very useful and so peaceful articles for us. Such a good work and so good write up.