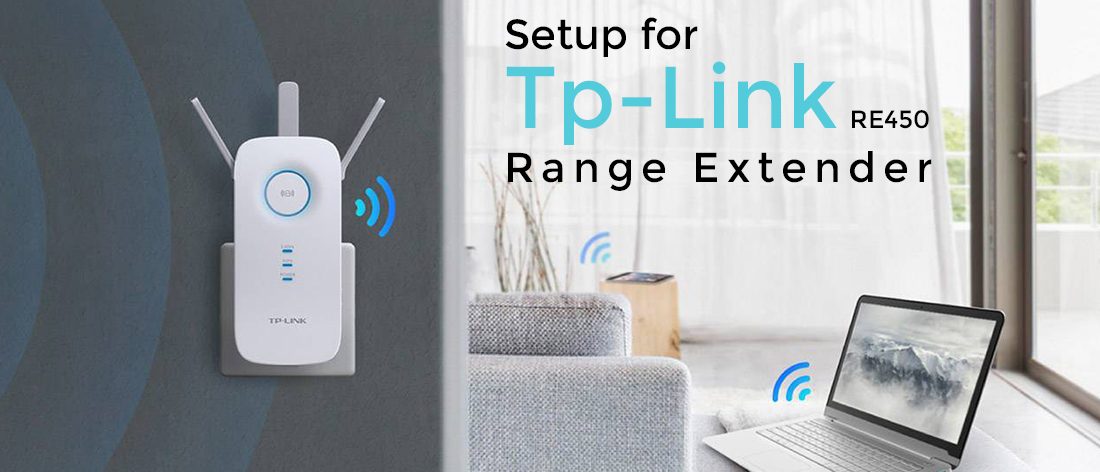
If the router lacks wifi signals in or around home networks or is in need of stable signals that are very important for you and your workplace, go switch to a new range extender. It will help you in getting stable wifi signals in your home network. Some very fine and quality range extenders cab be found in the market these days, they are not even good in performance but also get under your budget. Tp-Link extenders are a very good option if you are looking for a range extender that can actually extend wifi signals. Today we are going to brief you about the Tp-Link RE450 setup process.
Tp-Link RE450 802.11ac ranger extender with the greatest data range of 450Mbps on 2.4GHz band 1300Mbps on the 5GHz band, it is a dual-band extender that plugs into any wall outlet and delivers solid speed or good signal range. Well talking about the Tp-link RE450 setup, it is very simple quick, if your router supports WPS.
Via Web-Based Setup Page
So let’s start the Tp-Link RE450 set up in very quick steps. But before that don’t forget to check the hardware connection first.
- Start by plugging Tp-Link RE450 into a power socket nearby your wireless router or access point.
- Make use of the ethernet cable for connecting your RE450 with the computer.
Experts suggest that you must fo Tp-Link RE450 setup via a wired connection. In case you don’t have a PC or the RE product for example TL-WA854RE it doesn’/t has an ethernet port but you can configure RE450/TL-WA854RE only through wifi in this position.
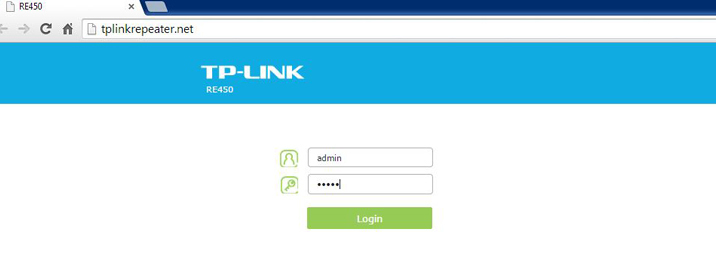
- Navigate through the web GUI of RE450 and, make use of its domain which is tplinkrepeater.net or the default IP: 192.168.0.254, is it a first step or crucial step for Tp-link RE450 Setup.
- You will see a login screen after putting the domain name into the address bar of internet explorer.
- It will ask for the default username and password, pit admin for both the options and press enter.
- If you are logging in for the first time, click log in.
By using the Tp-Link Tether application
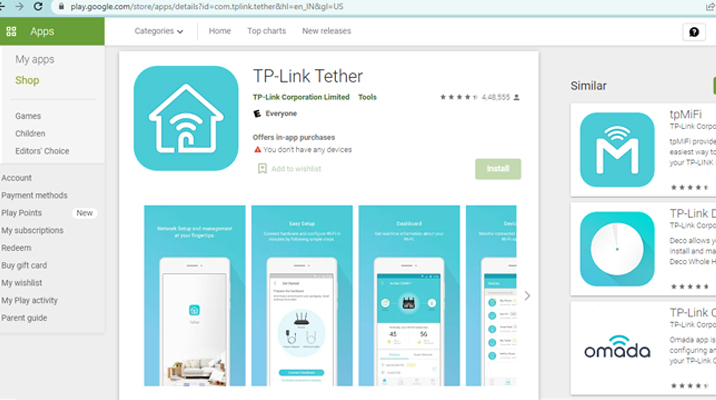
- Open the Apple Store or Google Play store.
- Look for the Tp-Link connection or look up the QR code and connect or download the application.
- Install it on your mobile and log in using the Tp-link ID.
- Click the + icon located in the upper right corner, then select the range extender.
- Follow the instructions on the app to configure the extender now.
- You can enable the Join OneMesh for the copying of your router’s wireless settings to ensure seamless roaming. For more information on the OneMesh look up the OneMesh with seamless roaming.
Note: It is highly recommended to activate Smart Connect on your host for seamless connectivity between dual-band networks. If you have Smart Connect enabled, your host router’s 2.4Ghz and 5 GHz networks share the identical SSID as well as password. Check out your router’s user guide for how to activate Smart for connecting.
- Install your extender, then follow the instructions on the app to take advantage of the extended network.
- Connect the extender midway between the router’s location and WiFi dead zone. The place you choose should be within the range of your router.
- Give it about 2 minutes until the LED for signal becomes a solid blue. If not, you can move the extender to close to the router in order to get higher quality signal. To limit interference from signals it is recommended to choose a location that is far from Bluetooth devices and other electronic devices in the household.
- Take advantage of the vast network and experience an unbeatable internet.
Configuration via Wps Button
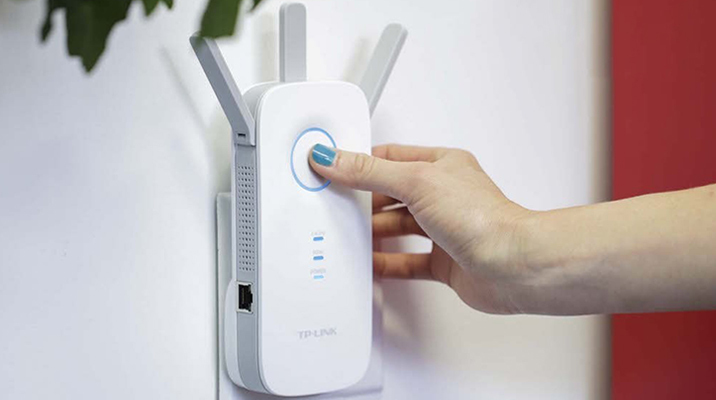
Make use of this method if the router is equipped with a WPS button.
- Click the WPS switch on the host router, and then hit the WPS switch on your extender for 1 second, within two minutes.
- The Signal LED changes from solid to on, which signifies that the WPS connection is working. If the light in the LED isn’t turning solid then try it again.
- If the extender is connected to a dual-band router, follow the steps above to connect to the second band.
- Place the extender in the right location for maximum coverage and performance. Plug the extender halfway in between the wireless router and the zone that is dead. The area you select should be within the reach of your extender.
- For about two minutes, wait until the LED for Signal turns completely blue. If it doesn’t, move the extender to be closer to the router in order to get greater signal quality.
- The installation is completed successfully and you are now able to expand and enjoy the internet connection.
Conclusion
We can complete the Tp-Link RE450 setup after applying further steps. We suggest you take help from our expert team for a better understanding of your range extender. Place a call to a toll-free number or do approach our experts via live chat.