Are you facing issues with Netgear nighthawk ac1900 setup? Here are the simple setup and configurations guide for making the basic configurar for ac1900 nighthawk router.
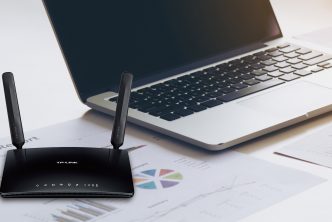
Netgear Nighthawk ac1900 Installation Setup
Here is the setup guide for making installation for ac1900 router. Make sure that you have a active internet connection before you can go for the Netgear nighthawk ac1900 installation.
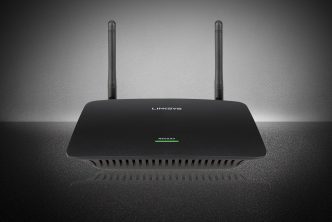
- First you have to remove the antenna caps and attach the antennas to router.
- Make sure to place the antennas properly to receive the best performance.
- Unplug the main power supply to the modem.
- Disconnect the cable between the modem and the ac1900 router.
- After applying all these settings for Netgear nighthawk ac1900 setup, you will need to connect your mode.
- Again plug-in the power supplies to the modem and attach the batteries if you have removed any.
- Take the Ethernet cable and connect the modem with the internet port of your ac1200 router.
- Next step for Netgear nighthawk ac1900 setup is, you will need to connect the main power adapter to the ac1200 nighthawk router and of course to the main power socket.
- Check the power LED located at the Netgear nighthawk ac1900 router. If all is good, the power LED is lit white.
- After that you will need to make connections for the computer system you will use for the Netgear nighthawk ac1900 setup.
- Take and Ethernet cable and connect one end to the Ethernet port of ac1200 nighthawk router.
After making all these connections, you are already to go for Netgear nighthawk ac1900 advance setup. First you will need to access the login page for the Netgear nighthawk ac1900 router. For the further configurations regarding Netgear nighthawk ac1900 you can contact our professional team for the help.