
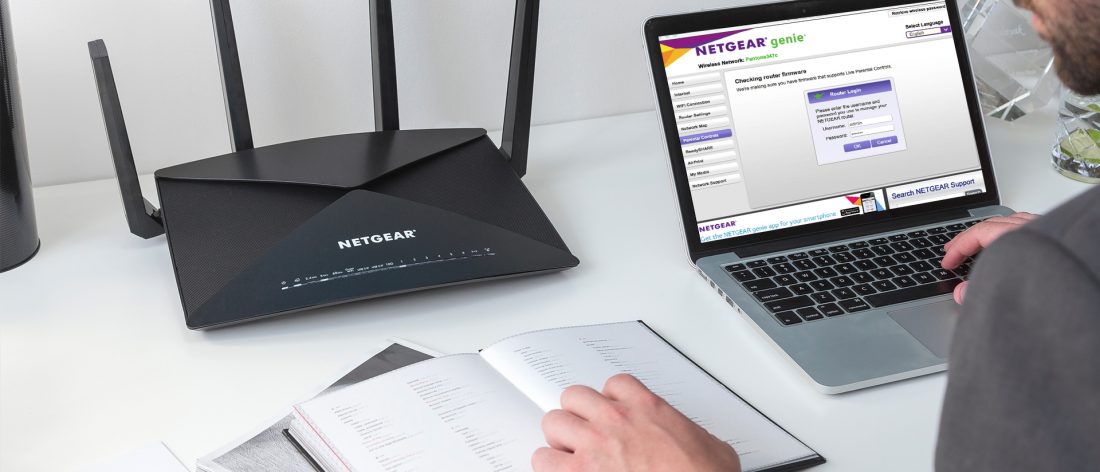
Configuring the Netgear router with the cable connections can also be configured using the Netgear Genie App. Here in this blog we are explaining in details how to configure the Netgear routers using the Netgear Genie App interface. If you are looking for the support for the router, please feel free to contact us any time using the Toll Free Number we have provided in the contact page.
Steps to Configure your Netgear Routers using the Netgear Genie App for Cable Connections
- First you have to power off the supply to Netgear router and the modems.
- After few time, you will need to connect the modem you are using with the internet port of the Netgear router. You can use the Ethernet cable to make these connections.
- At the same time, you will need to connect the computer you are using with the LAN port of the Netgear router. Again you can use the Ethernet cable for the connections.
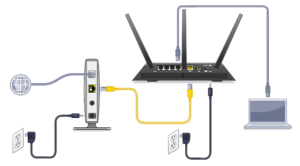
- Provide the power supply to all the equipments.
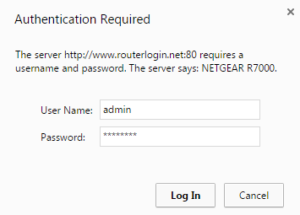
- Open the web browser and access the Netgear router access page using the default login address that is, routerlogin.net
- Fill he default login details that are, user name and the password for the Netgear router login.
- After the successful login to Netgear router, go for the “Advance” option.
- Go for the “Setup Wizard”
- Click on Next after selecting the Yes option.
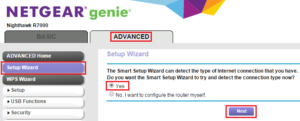
- Here you can make the entire required configuration for Netgear routers.
If you need help regarding the Netgear router login access, you can contact us any time. We are all ready to support for the router issues.


[…] we are going to provide you overview about Netgear Genie app, which is a desktop application works on both PC & Mac. It makes configuration process simpler