
Asus has always been the brand that has had a certain love for gamers. The entire ROG series of devices is a testament to that belief and the devices which continuously pump outperformance have flooded the gaming market. Along with the multiple gaming devices like the Gaming mice, headsets, desktops and other computer peripherals including the Wi-Fi routers which are designed to relieve gamers from the pain of slow or intermittent connectivity, lag and/or any other network based issues which you as a gamer can face. They also dramatically increase the video streaming quality and the speed.
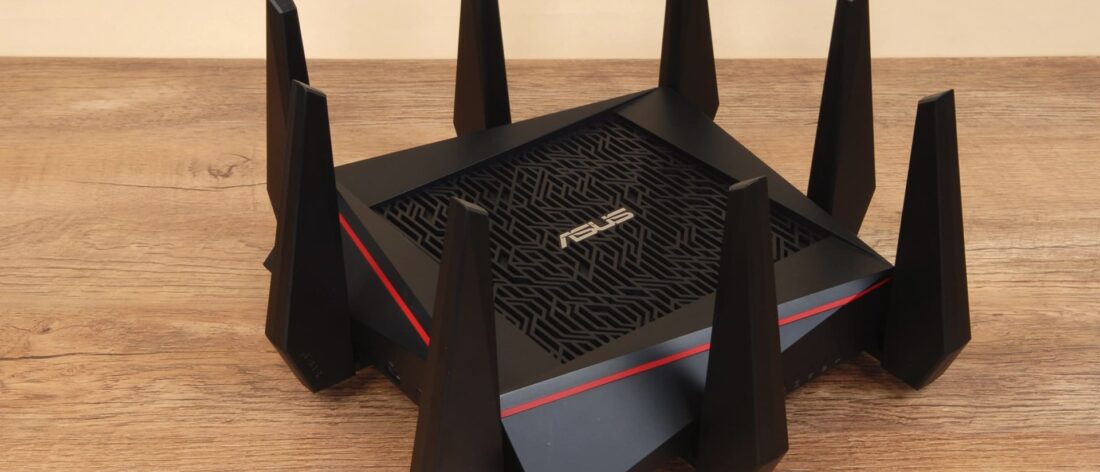
Now to cater the needs of those who are looking for a Wi-Fi router on a budget and are searching for an affordable but at the same time a powerful Wi-Fi router, Asus came out with the very powerful Asus RT-AC86U, the mean looking, forever standing guardian that watches your every need and makes sure they are fulfilled. This router inherits its looks and the basic firmware from the original meanness and complex designs of other Asus routers. While the Firmware is a little complicated to work on and customize, it’s far better than the original complexity of other Asus routers. In fact, the setup process clearly has been simplified and as I mention the simple steps to set it up, you’ll soon regain your trust on the firmware of Asus routers.

The simple steps to setup the Asus RT-AC86U are:
Step 1: We start by connecting all the cables and cords to the device to make sure the setup process goes through smoothly. The cables we need to connect to it are:
- An Ethernet cable from your ISP or DSL modem must be connected to the WAN port of the router. This port should be blue in color.
- Connect an Ethernet cable that goes from your laptop or PC to any of the LAN port marked as 1, 2, 3 or 4 in your Asus router. These ports would be yellow in color.
- Next, we need to power up the device using the power cable by connecting it to the green port of the device and plugging it into a wall outlet and switch on the device.
Step 2: We would then be required to log in to the Web-based setup page of the router. To do that, open any web browser on the PC or laptop you’ve connected to the device. The Asus setup page may automatically open, but if it doesn’t, use the IP address 192.168.1.1 to log in to it.
Step 3: The pop-up window will ask you to enter the credentials to gain access to the page. The default username and password for the device is “admin”. Click OK.
Step 4: Press Go to the next screen to continue with the setup process.
Step 5: Next the setup page will ask you to change the default credentials, i.e. the “admin” username and password to the login name and password of your choice. These credentials will be used to access the admin settings of the router hence it is recommended you change it to something secure and not leave it as default.
Step 6: From then on the router will go on to detect the type of internet connection that is used by you and will fill the details that are required on its own. If it doesn’t you might need to contact your ISP to find out the type of connection that you own.
Step 7: Your router will then ask to be named. Give it an SSID (Network name), fill in the desired password for both the wireless bands of your router.
Step 8: A security configuration confirmation screen will greet you next showing all the settings you just chose a minute ago. Simply click the next button and complete this step once after going over all the details you’ve just entered. Make sure all the details are correct first.
Step 9: Another prompt will open. This would be a login prompt and it would ask you to enter the administration password and username. If you’ve changed it during step 5, enter the new login details and finalize the settings you’ve just decided.
Step 10: After the settings have been saved, the setting page of the router will open up once again. We don’t need to do anything more so we’ll just choose to log out.
Step 11: A dialog box will open to ask you if you want to log out. Click OK and continue.
You have now successfully setup your Asus RT-AC86U router. As previously mentioned, the simple steps used to set up the router, show you the simple interface that Asus routers have adopted giving their users a much better control over their routers.


Testing
testing again 01
tesing67