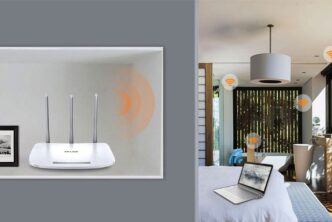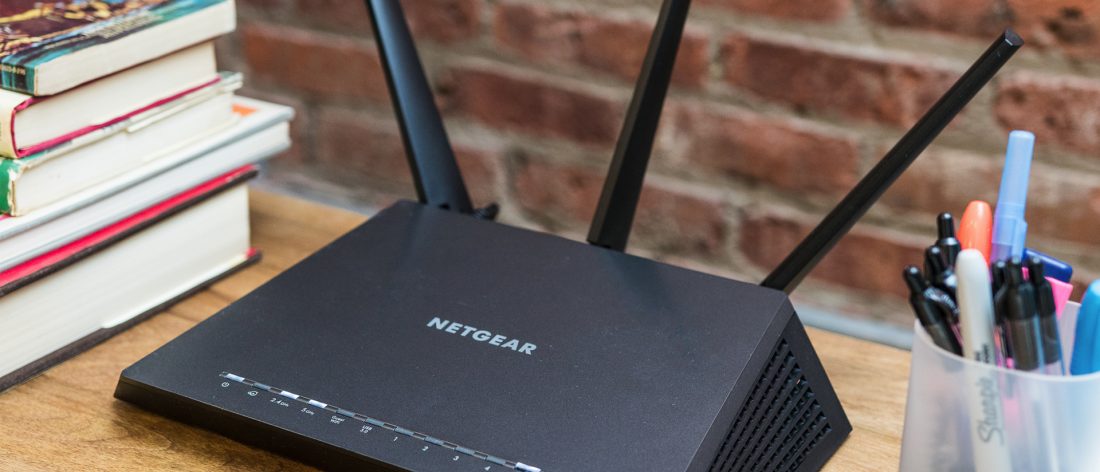
Here, we will discuss some configuration settings for the Netgear router. You can change the settings of a router by log in to the router login page. The web address to access the router login page is routerlogin.net or routerlogin.com. You can also access this page via 192.168.1.1 IP address. If you are unable to access routerlogin.net then go to why can’t I access routerlogin.com or routerlogin.net?
The most common features of a Netgear router are Parental Control and Guest network.
We will firstly discuss the configuration of Parental Controls. Parental Controls feature protects your children or other family members from viewing adult web content. Let us now discuss how to set it.
Parental Controls
Follow the steps to configure Parental Controls using Netgear Genie app:
Note: Perform the following steps on a computer that is connected to the Netgear router.
- Log into the router by using its default credentials. The default username is admin and password is password. If you have changed the credentials before then use those instead of the default.
- Open the genie app of the Netgear then go to Parental Controls.
- A window appears. Click next to continue the setup process.
- A display screen opens having title setting up Live Parental Controls.
- If you have an existing open DNS account then select that option otherwise create one by selecting no, I need to create a free open DNS account.
- Click next. Here we are discussing the scenario of creating an open DNS account.
- Fill all the fields to create an account and click next.
- Now choose the filtering level for your network.
- Low: protects against pornography and phishing attacks.
- Moderate: protects against all adult related sites, illegal activity, and phishing attack.
- High: block access to adult-related sites, video sharing, social networking sites, and phishing attacks.
Now it’s your wish if you want to create a bypass account or not. Through bypass account, some computers are able to access the internet without any restriction.
Guest Network
A Guest network allows your guest to access the internet without using the password of your primary wireless network. By using this feature you can make a separate account with separate username and password for your guests.
Follow the steps given below to set up the guest network:
- Open a web browser. Make sure that the computer on which you are performing these steps is connected to your router’s network.
- Enter www.routerlogin.net in the address bar of the browser window. A login screen appears.
- There are two fields that are username and password. Enter admin in the username field and password in the password field. The basic home page displays.
The above-mentioned username and password are by default values. If you have changed them before then enter those credentials.
- Select guest network and choose a band either 2.4 GHz or 5 GHz.
- Enable the SSID broadcast checkbox so that someone can easily find and connect to your network. Otherwise, a hidden network is created.
- Provide a network name for your guest network.
- Select a security option. The default is WPA2.
- To save the settings, click on apply.
Hope this article is helpful for you. Get in touch with us if you have any query.